| |
 |
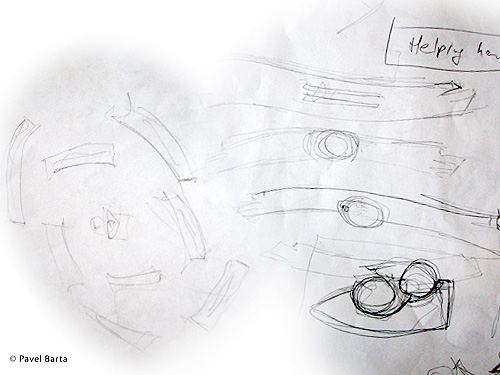
1. Sketch |
| |
|
|
2. 3D Model |
1. |
|
|
3. Creating Sculptures in smaller scale
|
|
|
|
3. b |
|
|
|
3. c |
|
|
|
3. d |
|
|
|
4. Drawings of hangers that would satisfy the requirements for post-disaster building |
|
|
|
4. b |
|
|
|
5. Checking the space between lowered ceiling and concrete slab where all the hangers will be anchored |
|
|
|
5. b |
|
|
|
6. Creating each individual sculpture - wooden body
|
|
|
|
6. b |
|
|
|
6. c |
|
|
|
6. d |
|
|
|
7. Inserting metal plates in the sculptures |
|
|
|
7. b |
|
|
|
8. Drying time (almost all the rooms in our house were used in this part of the process) |
|
|
|
9. Clay positive for the heads |
| |
|
 |
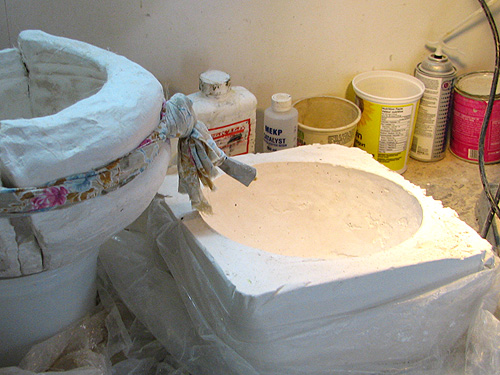
10. Plaster molds for the heads |
|
|
|
11. Heads in fiberglass (process) |
|
|
|
12. Other parts of the sculptures in fiberglass |
| |
|
|
13. Heads are painted and finished with gold powder |
|
|
|
14. Fiberglass applied to the hands, sanding and filling |
|
|
|
15. Another layer of resin (resin is coloured black) |
|
|
|
16. Assembling the sculptures after bronze powder was applied |
|
|
|
16. b |
|
|
|
17. Ready for packing |
|
|
|
18. Projection of sculptures on the floor, marking centers for hangers |
|
|
|
19. Final touch - polishing sculptures before installation |
|
|
|
20. Hangers are mounted into the concrete slab |
|
|
|
21. Sculptures are being attached to hangers |
|
|
|
22. More sculptures are going up - less and less space remains for maneuvering the lift |
|
|
|
23. Most of the sculptures are in the place |
|
|
|
24. The last sculpture is mounted to the corner |
|
|
|
25. Final look |