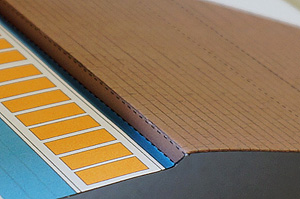
1. Working Board
Do not work directly on the desk/table. Put a cutting board or at least a thick cardboard on the desk/table.
2. Hobby Knife
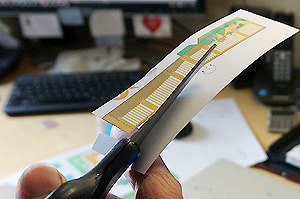
3. Regular Scissors
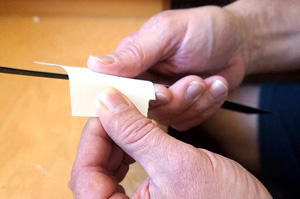
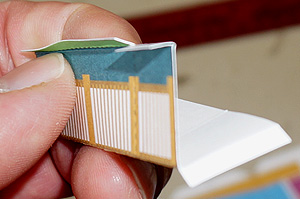
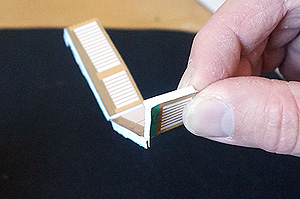
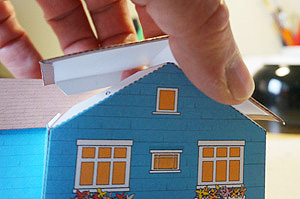
4. Tweezers
You will need tweezers for detailed work – to fold and glue very small parts.
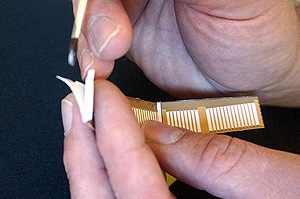
5. Manicure Scissors
You will use these for cutting small parts and small openings.
6. Small Wooden or Plastic Blocks
You can use Lego blocks for example. Blocks are used for support when gluing. The advantage of Lego blocks is that they can be built-up to needed height.
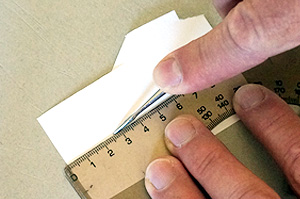
7. Ruler
Ruler is used for cutting and scoring. I like best the plastic triangular ruler.
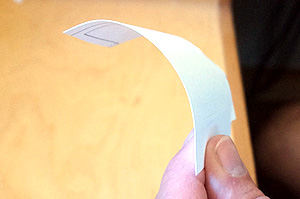
8. Glue
I prefer using white glue that dries clear and colorless. For bigger areas it can be diluted slightly with water. The glue shouldn’t be too runny, so the paper doesn’t shrivel.
9. Paint Brush
You can put glue on paper using your fingers but try using paint brush. You will find out that it easier especially for places which are too small for your fingers. Use small paint brush. I like using flat, size 2 (size is printed on the handle).
10. Storage Box
Storage box is useful for saving the model in progress. You can have one box for cut parts and another box for the parts that are already glued together.
REMEMBER:
Keep your tools clean. Remove glue from all tools before it hardens. Keep a container with a small amount of water on your desk while working, so you can put there you paint brush between uses – it keeps it from hardening. Make sure your container has a wide bottom, so it doesn’t tip over easily – spilled water would damage your paper model.
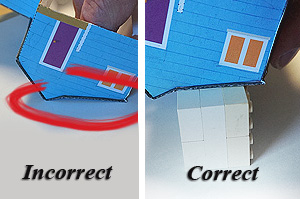
I M P O R T A N T !
Use caution when handling sharp tools!
Don’t cut towards yourself!
Children should use cutting tools only under supervision of an adult! |